How to Stop Shoes From Blistering Your Feet
Fix the Friction Before You Blame Your Feet
Shoes blister when skin, moisture, socks, and shoe surfaces create repeated friction. The usual problem is not that your feet are difficult. It is that one part of the shoe is rubbing, sliding, pinching, or holding sweat long enough to irritate the skin.
The good news is that many shoe blisters can be prevented. You need the right fit, better socks, slower break-in, smarter lacing, and protection on known hot spots before the skin lifts.
This guide is for everyday shoe comfort, not medical diagnosis. If you have diabetes, poor circulation, signs of infection, severe pain, recurring unexplained blisters, or a wound that is not healing, get medical care.
Find the Exact Blister Spot
Before you fix the shoe, locate the pattern. A blister on the back of the heel needs a different solution from one under the ball of the foot.
Common blister spots and likely causes:
| Blister spot | Common cause | First fix to try |
|---|---|---|
| Back of heel | Heel slip or stiff counter | Heel-lock lacing or heel grip |
| Side of big toe | Narrow toe box | Wider shoe or thinner sock |
| Ball of foot | Sliding forward | Better lacing, insole, or lower heel |
| Top of toes | Shallow toe box | More volume or softer upper |
| Arch | Insert edge or seam | Adjust insole or change sock |
| Pinky toe | Shoe too narrow or pointed | Wider forefoot shape |
Put on the shoes and stand naturally. Then walk for a few minutes. Notice where you feel warmth, pressure, rubbing, or pinching. A hot spot is an early warning. Protect it before it becomes a blister.
Step 1: Check Whether the Shoes Actually Fit
Shoes that are too tight can rub and pinch. Shoes that are too loose can let your foot slide, which also causes friction. A comfortable fit sits between those two problems.
Check length first. You usually want a little room in front of the longest toe, especially for sneakers, walking shoes, and running shoes. Your toes should not hit the front when walking downhill, stopping quickly, or standing late in the day.
Check width next. Your forefoot should not bulge over the sole. If the shoe squeezes the big toe, little toe, or bunion area, blister patches may only delay the problem.
Check heel hold. Your heel can move slightly, but it should not lift dramatically with each step. Repeated heel slip is one of the fastest ways to create a blister.
Try shoes later in the day if your feet swell. Wear the socks or hosiery you actually plan to use. If the shoes only feel good barefoot in the store, they may not work for real life.
Step 2: Switch to Better Socks
Socks are a friction layer. The American Academy of Dermatology recommends moisture-wicking socks for foot blister prevention, and many blister-prevention guides also caution against damp cotton socks during activity.
For closed shoes, choose socks that fit smoothly. Look for synthetic blends, merino blends, nylon, or other moisture-wicking materials. Avoid socks that bunch at the toe, slide under the heel, or leave thick seams exactly where the shoe rubs.
Thin socks are not always better. If the shoe has enough room, a slightly cushioned sock can reduce rubbing. If the shoe is already tight, a thick sock may make pressure worse.
For long walks or runs, some people do well with double-layer socks or two thin pairs. The idea is that fabric rubs against fabric instead of skin. Test this before an important day because extra layers can change fit.
Change damp socks when you can. Moisture softens skin and increases friction, especially in warm weather or during long activity.
Step 3: Break In Shoes Gradually
New shoes often blister because the material is stiff and your skin has not adjusted to the contact points. Break-in should be slow, not painful.
Wear new shoes at home first for 20 to 30 minutes. Add time only if there are no hot spots. Then wear them for a short errand, not a full travel day or wedding.
For leather shoes, gentle wear can soften the upper. For patent, coated, synthetic, or rigid shoes, break-in may be limited. If the shoe pinches hard from the first try-on, do not expect it to become a completely different shape.
Protect likely hot spots before wearing new shoes outside. Use moleskin, hydrocolloid blister patches, athletic tape, or a smooth bandage depending on the location. Preventing friction is easier than treating broken skin.
For expensive shoes or pairs you want to keep polished, a cobbler may be able to stretch a tight spot or add small comfort adjustments. Our shoe repair near me guide explains how to talk through those repairs.
Step 4: Adjust Lacing, Straps, and Insoles
Small fit adjustments can stop sliding. For sneakers and running shoes, try heel-lock lacing if the heel slips but the length feels right. This uses the extra top eyelets to secure the ankle area more firmly.
If the top of your foot hurts, skip-lacing can reduce pressure over a sensitive area. If the forefoot feels squeezed, loosen the lower laces and tighten the upper laces more carefully.
For sandals, adjust straps so the foot is held but not cut. A strap that is too loose lets the foot slide. A strap that is too tight rubs the skin raw.
Insoles can help when your foot slides forward or the shoe has too much volume. Use them carefully. A thick insole can lift your heel out of the shoe or make the toe box too shallow.
If blisters happen during running because your shoe is unstable or poorly matched to your foot, revisit the shoe category. Our best running shoes for flat feet guide explains how support, width, and platform stability affect fit.
Step 5: Use Padding Before the Hot Spot Opens
Padding works best before skin breaks. Choose the product by location and shoe type.
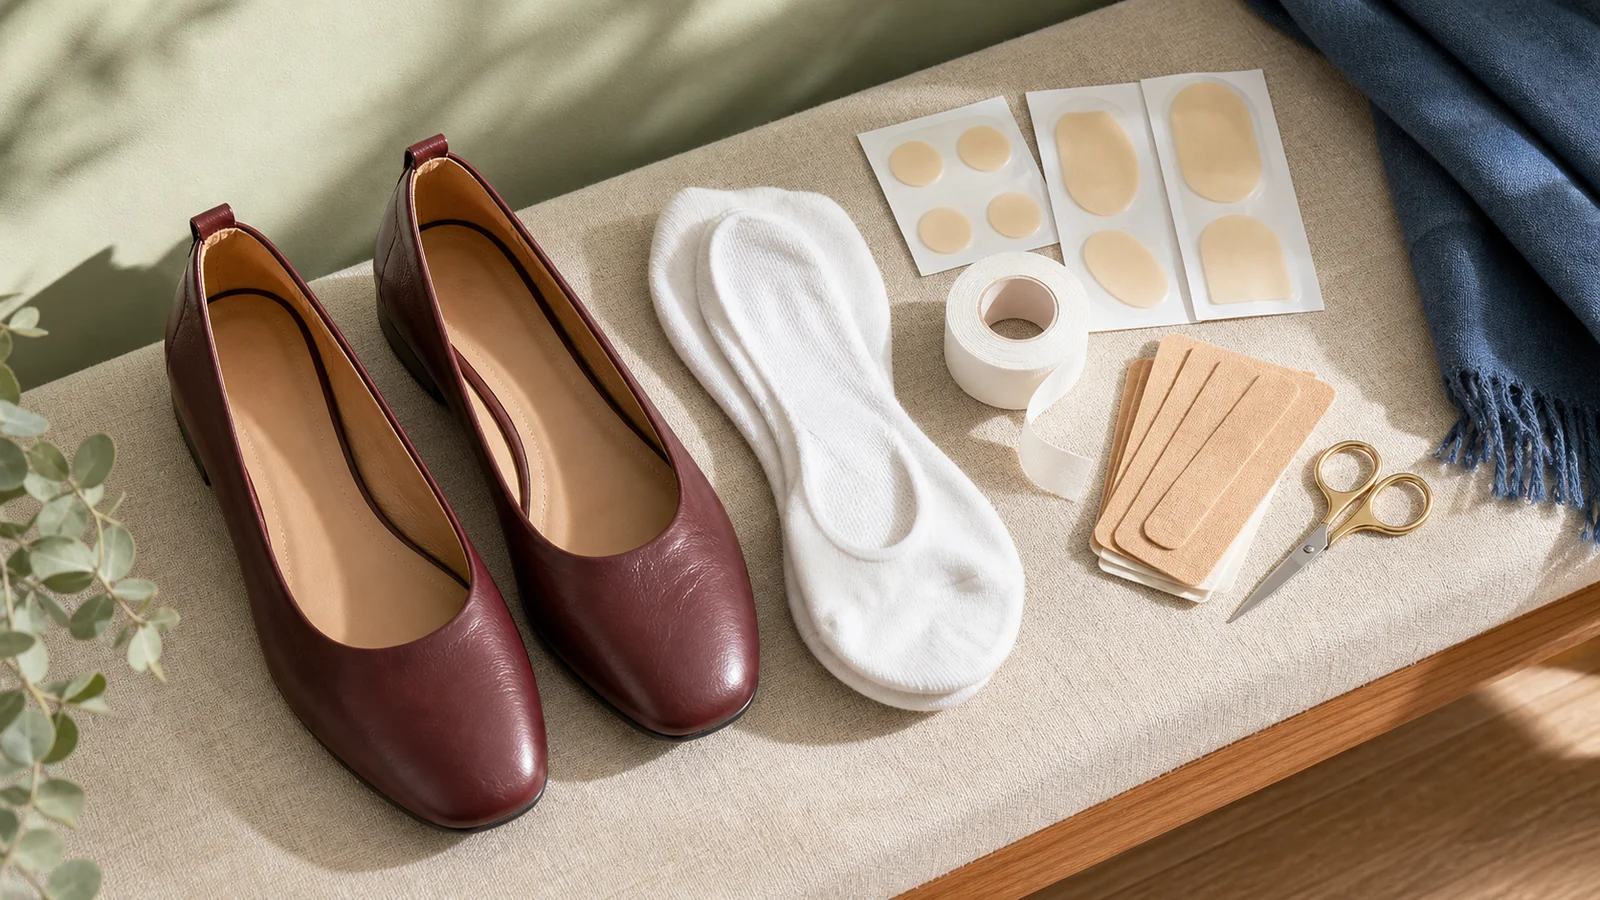
Moleskin can protect heel backs, toes, and side pressure points. Cut it with rounded corners so it does not peel as quickly. For an existing small blister, a donut-shaped pad around the blister can reduce direct pressure.
Hydrocolloid blister bandages cushion the area and protect healing skin. They are useful on heels and toes, but they need clean, dry skin to stick well.
Athletic tape can work for predictable rubbing during sports, walks, or travel. Apply it smoothly. Wrinkles can create new friction.
Gel pads, heel grips, tongue pads, or ball-of-foot cushions can help in specific shoes. Be careful with high heels and tight flats. Adding pads reduces interior space and may make pressure worse.
Test padding with the actual shoe before the important event. A pad that feels good in sandals may shift inside loafers. A heel grip that fixes one pair may make another pair too short.
Step 6: Reduce Moisture and Heat
Moisture increases friction. That is why blisters often show up on hot days, long walks, travel days, and workouts.
Use moisture-wicking socks in closed shoes. For very sweaty feet, consider foot powder or an antiperspirant made for feet, following product directions. Let shoes dry fully between wears.
Rotate shoes if possible. Wearing the same damp pair every day keeps the lining soft and increases odor. Air circulation helps both the shoe and your skin.
Avoid lotion between toes before long activity unless you are using it intentionally as an anti-friction product and know it works for you. Extra slickness can help in some areas, but too much moisture in the wrong place can make socks slide.
For summer closed-toe shoes, plan sock changes for long days. A fresh pair halfway through a travel day can prevent the damp-sock rubbing that creates heel and toe blisters.
What to Do if a Blister Forms
If a blister is intact, many medical sources recommend leaving it unpopped because the skin roof helps protect the area while it heals. Cover it with a clean bandage, blister plaster, or moleskin to reduce rubbing.
If the blister breaks, keep the area clean, cover it with a sterile nonstick dressing or blister bandage, and avoid the shoe that caused the friction until the skin settles.
Do not tear off the loose skin. It can protect the new skin underneath. Change dressings as needed and watch for redness, warmth, swelling, pus, increasing pain, red streaks, or fever.
Seek medical care if you see infection signs, have diabetes or circulation problems, or the blister is large, very painful, recurrent, or not healing.
Outfit and Shoe-Type Fixes
Different shoes blister in different ways.
Loafers often rub the heel or top of the foot. Try better heel hold, thin socks, heel grips, or a soft break-in period. If the toe box is narrow, choose a different width or shape.
Ballet flats often blister the heel, pinky toe, or top edge. Look for softer bindings, a wider forefoot, and a sole that does not make the foot slide forward.
Sneakers often blister when the sock is wrong, the heel slips, or the size is too small for swelling. Try heel-lock lacing and moisture-wicking socks.
Sandals often blister where straps cross the toes, ankle, or instep. Adjust the strap, use clear anti-friction balm where appropriate, or avoid stiff straps for long walking days.
Heels often blister because the foot slides forward. A better insole, lower heel, ankle strap, or more secure toe shape can help, but a painful heel may simply be the wrong pair.
Build a Small Blister Kit
Keep a tiny kit in your bag, travel pouch, or desk if you often change shoes.
Useful pieces include:
- Hydrocolloid blister bandages
- Moleskin or blister padding
- Small scissors
- Athletic tape
- Spare moisture-wicking socks
- Alcohol wipe for skin before taping
- A slim backup pair of comfortable shoes for events
You do not need all of this every day. The point is to fix a hot spot early. Once skin starts burning, stopping the rub matters more than finishing the outfit exactly as planned.
Common Mistakes
The first mistake is wearing brand-new shoes for a long day. Break-in needs time.
The second mistake is assuming tight shoes will stretch enough. Some materials soften, but many shoes never become wider where you need them.
The third mistake is wearing cotton socks for sweaty walks or runs. Damp socks increase rubbing.
The fourth mistake is padding the wrong place. Protect the skin and fix the shoe movement that created the rub.
The fifth mistake is popping a blister casually. Intact blister skin helps protect the area, and broken skin needs cleaner care.
FAQ
Why do my shoes suddenly give me blisters?
Your feet may be swelling more, socks may be damp, the shoe lining may have changed, or the shoe may be worn enough to let your foot slide. New activity, heat, and longer walking can also expose fit problems.
Do thicker socks stop blisters?
Sometimes. Cushioned or double-layer socks can reduce friction if the shoe has enough room. If the shoe is already tight, thicker socks can increase pressure and make blisters worse.
Should I pop a shoe blister?
It is usually safer to leave an intact blister alone and cover it to reduce rubbing. If it bursts, keep it clean, cover it, and watch for infection signs.
Can a cobbler fix shoes that blister?
Sometimes. A cobbler may stretch tight spots, soften edges, adjust heel grip, or add protective pieces. They cannot make every wrong-size shoe comfortable.
The Bottom Line
To stop shoes from blistering, fix the friction early. Start with fit, then socks, break-in time, lacing, padding, and moisture control. Protect hot spots before they open, and give existing blisters clean, low-friction care. A shoe that repeatedly damages the same spot is giving you useful information: adjust it, repair it, or let it go.
You might also like
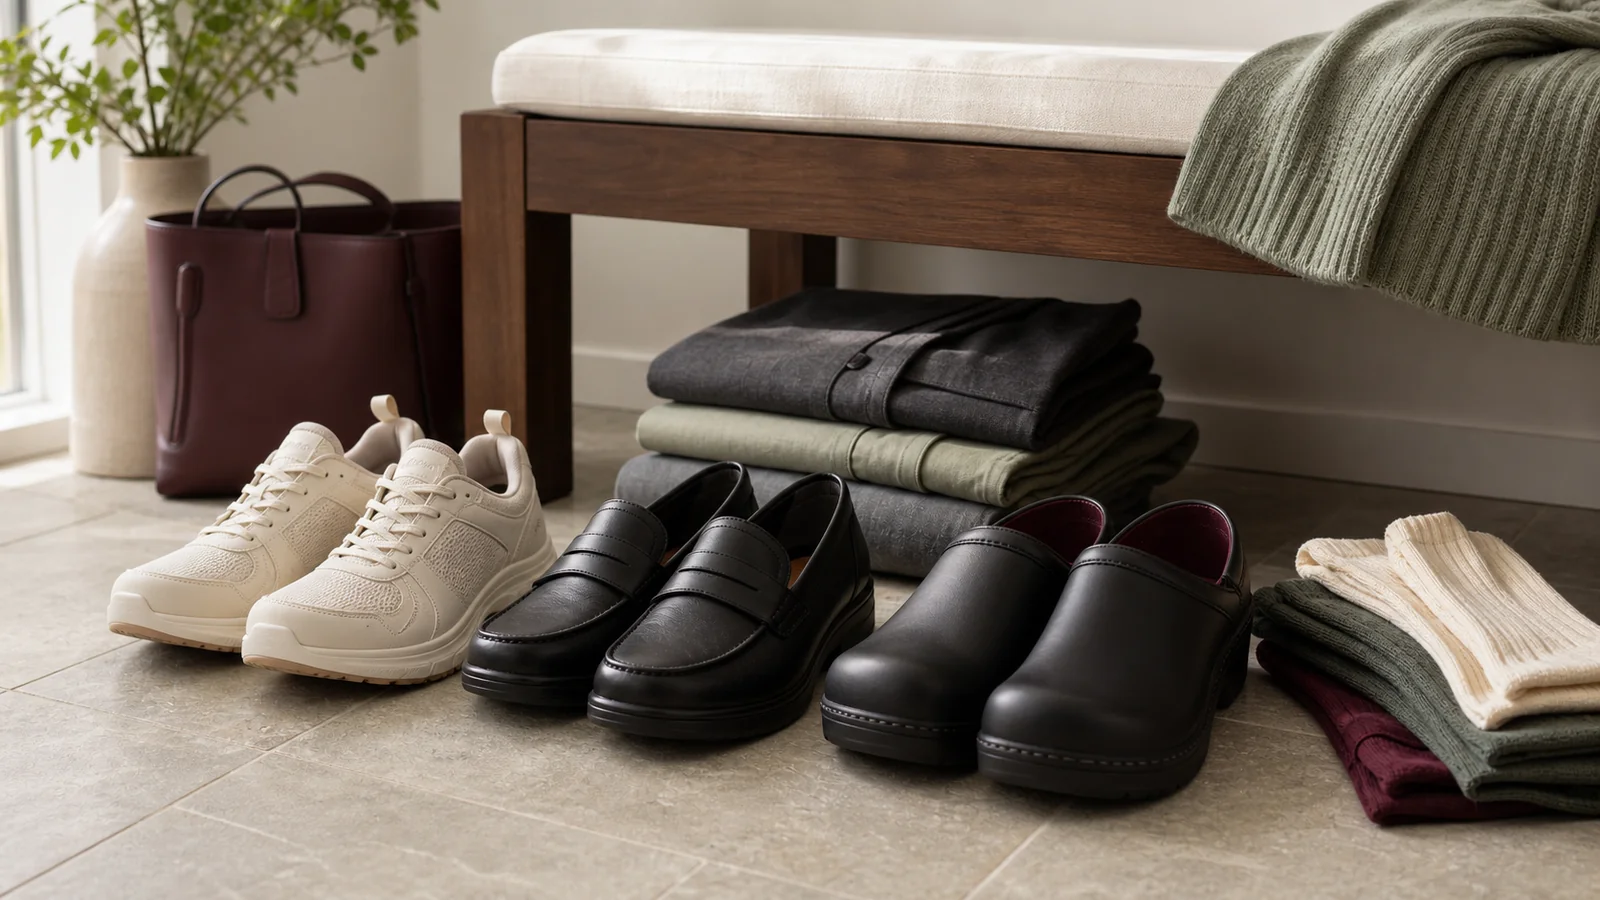
Best Shoes for Standing All Day: Style Guide
Find shoes for standing all day by support, cushioning, stability, work dress codes, hard floors, and outfit needs.
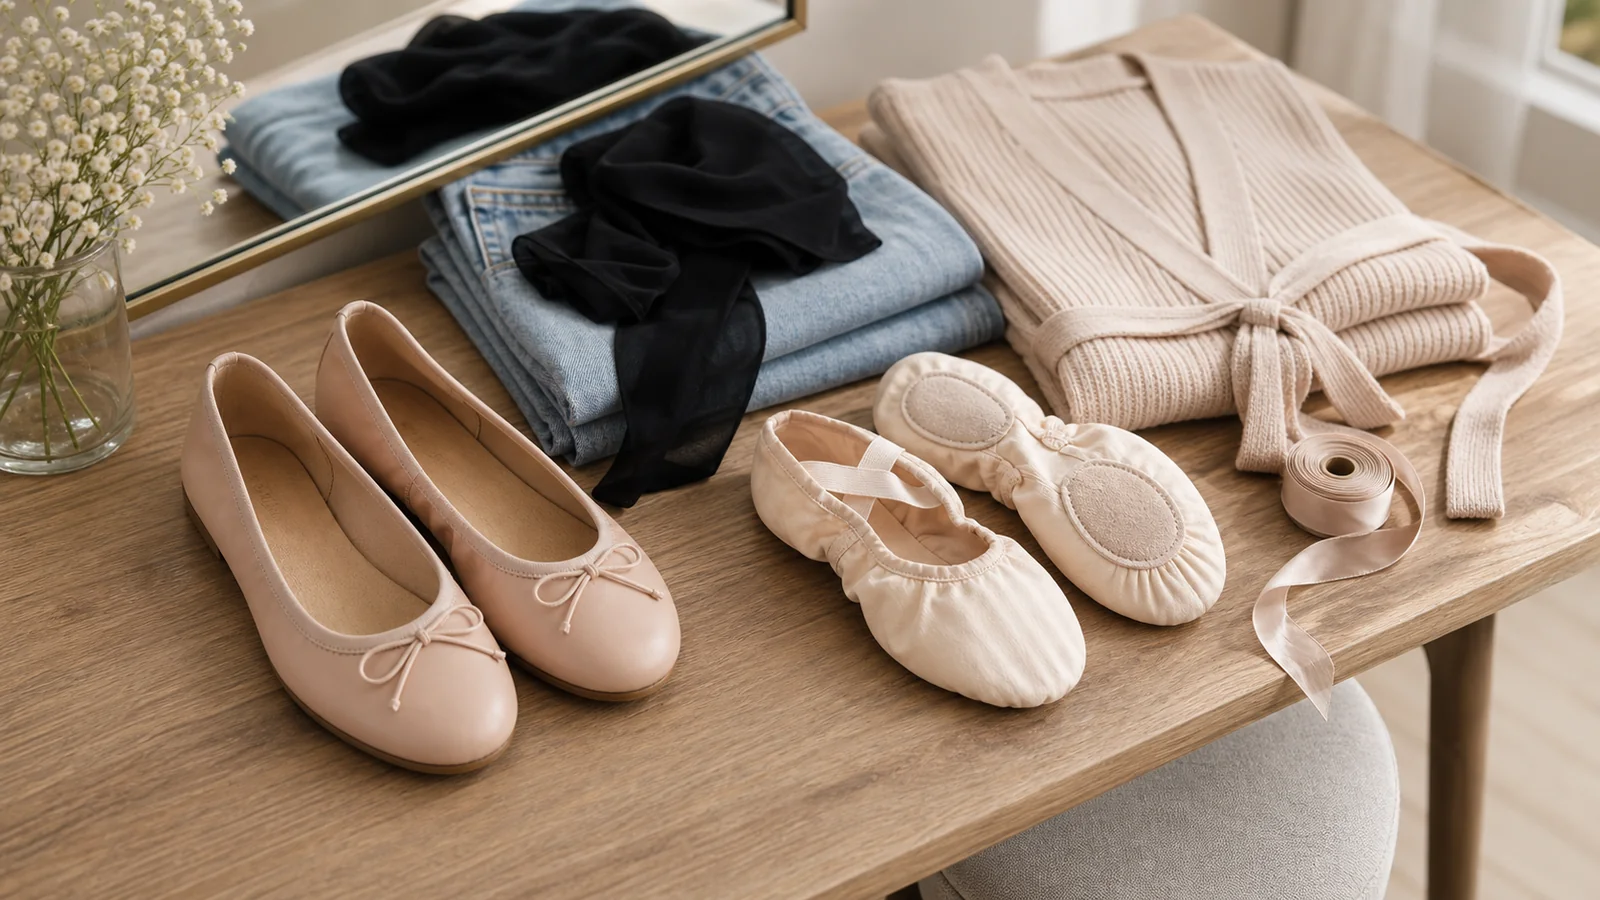
Ballet Shoes vs Ballet Flats: Style Guide
Compare ballet shoes and ballet flats by dance use, street wear, fit, soles, materials, outfit styling, and care.
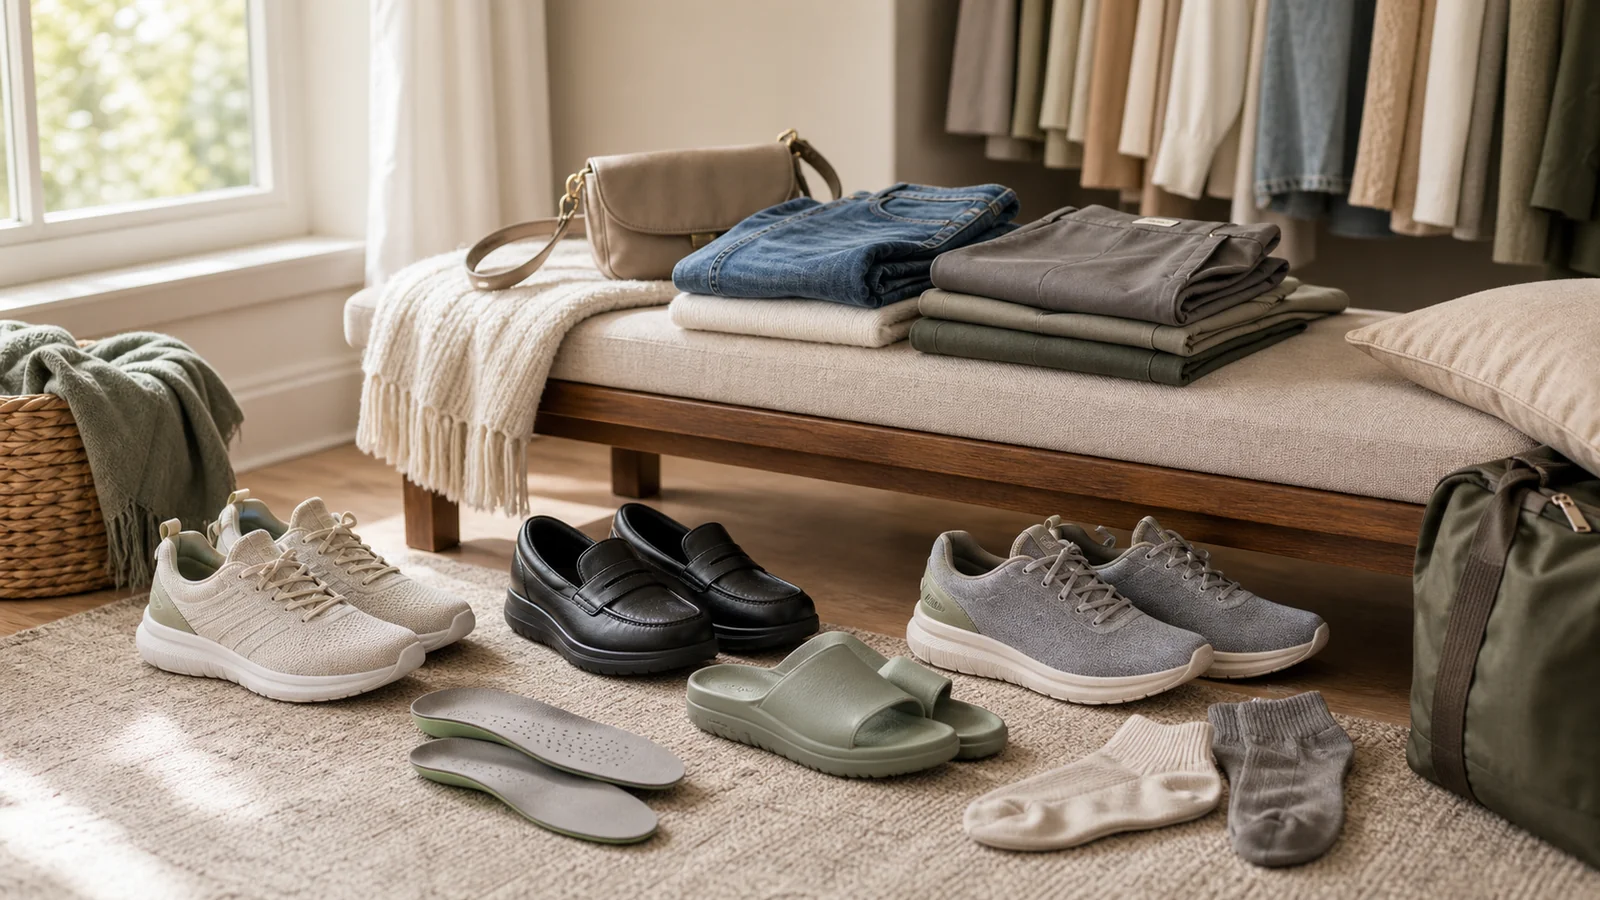
Best Shoes for Plantar Fasciitis: Support Guide
Choose plantar fasciitis shoes by arch support, heel cushioning, stability, daily use, and outfit needs.